One of the most recent releases on the site is the Downed Shuttle kit. The reason I'm calling it a kit is that it's less 'complete' than most of my other products, and will require some extra work at the buyer's end.
I thought I'd talk through how I went about basing and detailing my downed shuttle, to give you an idea of how to go about it.

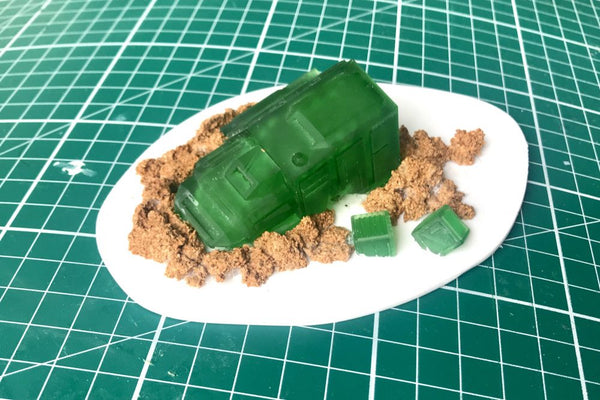
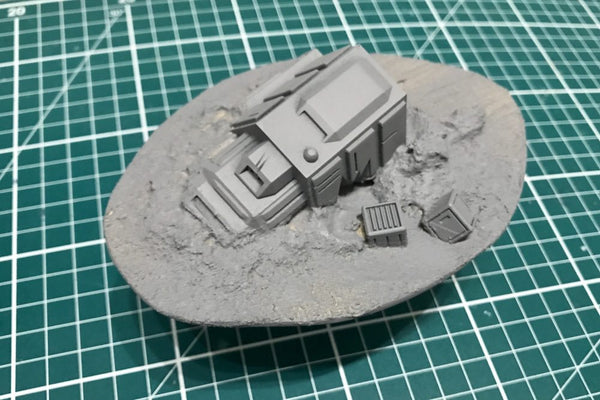
The kit comes as the downed shuttle, 3 crates (2 partial crates to help create the illusion they're buried and one full crate) and an optional resin cast dead pilot. Here's my set, fresh off the printer.
(Before carrying on, it's probably worth taking at glance at this article if you're new to 3D resin prints.
I'm going to deal with the pilot separately, so I wont be basing him with the rest of the kit - if you want him on the same base, just arrange him along with the crates below.
First up is basing: I like to base all my terrain, I like the opportunity it gives for some little added extra scenics (like scattered crates). I also use terrain basing to represent when a figure might be 'in cover' when gaming - saves the fiddly manoeuvring of smaller scales.
There's an extra reason to base this shuttle though - I want to represent the raised, churned ground caused by it smacking in to the ground at speed.
For this step I'm using 2mm Foamex (or foamed PVC) for the basing - it's much easier to cut and sand than plasticard and won't warp easily. Well worth getting hold of.
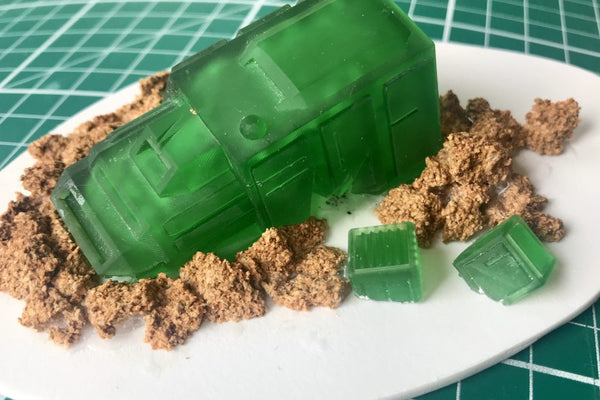
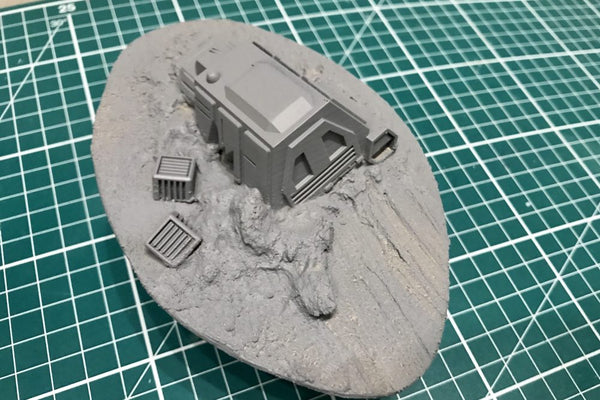
I've modelled raised rocks with crumbled cork - focusing on the 'left' of the shuttle, which has dug deeper into the ground during impact - thereby churning up more rocks and earth.
I've chosen to place just two crates, near the damaged side of shuttle - as though they've spilled out on impact. I've left off the 'whole' crate, which I'll use on another piece of terrain in future.
It's worth thinking about the type of terrain you're imitating here - my basing is all soft sand, so the rocky areas aren't too jagged - I'd do the same for snow - but you may want to model sharper, more jagged rocks depending on your basing style.
Next, I coat the whole thing in filler - Polyfill for me, but any will do. Use it to bring the rocks together (overbrush it with a wet brush), vary the terrain level and - I think most importantly - add some skid/crash marks to represent where the shuttle skidded down. I do this with the wooden end of a paintbrush, then run over it with a wet brush to soften it.
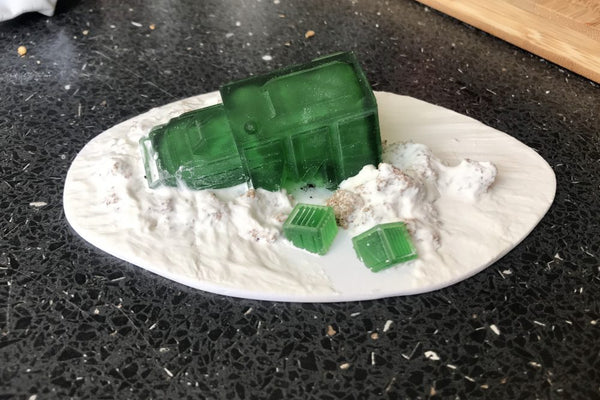
Again - for more prominent rocks don't apply as much filler on the cork, it'll look more like rocks when you come to paint it.
Once dry you might find the odd hole, as above, so just head back in and fill those with a little extra filler. Those cracks won't matter either (because of the next stage).
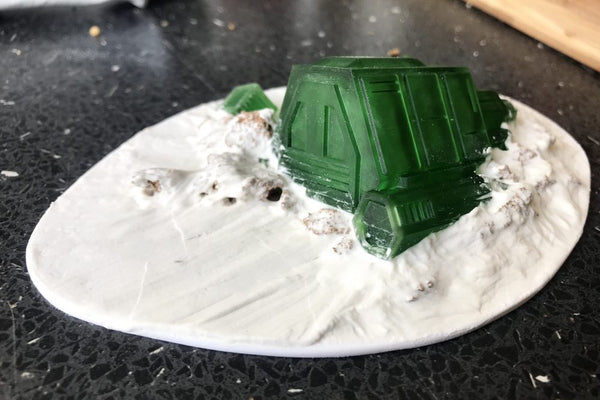
Finally - apply your basing materials of choice. I'm a huge fan of the Vallejo basing pastes (you'll be surprised to know I use the 'sand' one), they work much better than sand or grit for smaller scales.
Apply this all over, in a way that makes sense for your basing - if necessary go back in and make sure you haven't over hidden the crash/skid lines.
Once you're happy, slap on your primer of choice! I'm a fan of grey for terrain. I love this stage, because suddenly everything ties together.
Now just for the joy of painting!
The downed shuttle can be ordered here - with an option to add the downed pilot too.